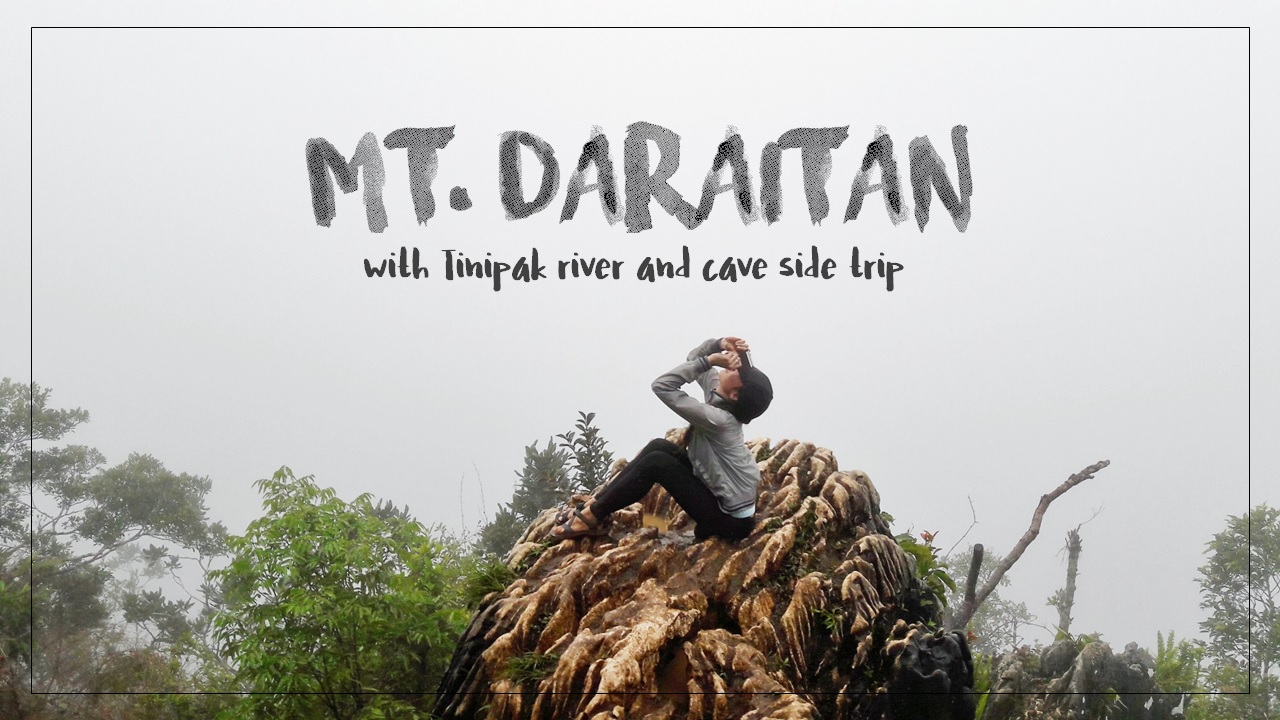
The province of Rizal is blessed to be surrounded with the mountainous terrain of Sierra Madre. Situated at Southern Luzon, part of Region IV-A CALABARZON, its geographical location has been quite an advantage to the travelers, mountaineers and recreational hikers most especially from the Metro since it is just an hour or two away from the city’s hustle; hence, making a surge of them pay the province’s wonders a visit on weekends. Among their favorite destinations are the summits in Montalban, Rodriguez, Tanay and others. One of the most note-worthy among these is located in Tanay – Mt. Daraitan.
Mt. Daraitan has two jump off’s – one in Barangay Daraitan, Tanay, Rizal considered as a major, and the other in General Nakar in Quezon, a minor. It is 739 meters above sea level, considered as a minor climb with 4/9 difficulty and a trail class from 1 to 3 which can be hiked for two hours and a half to four depending on the pacing of the hiker/mountaineer. It features limestone formations, tropical forest and river trekking. Despite its specifications, this mountain can not and should never be underestimated and compared with the mountains of same difficulty.
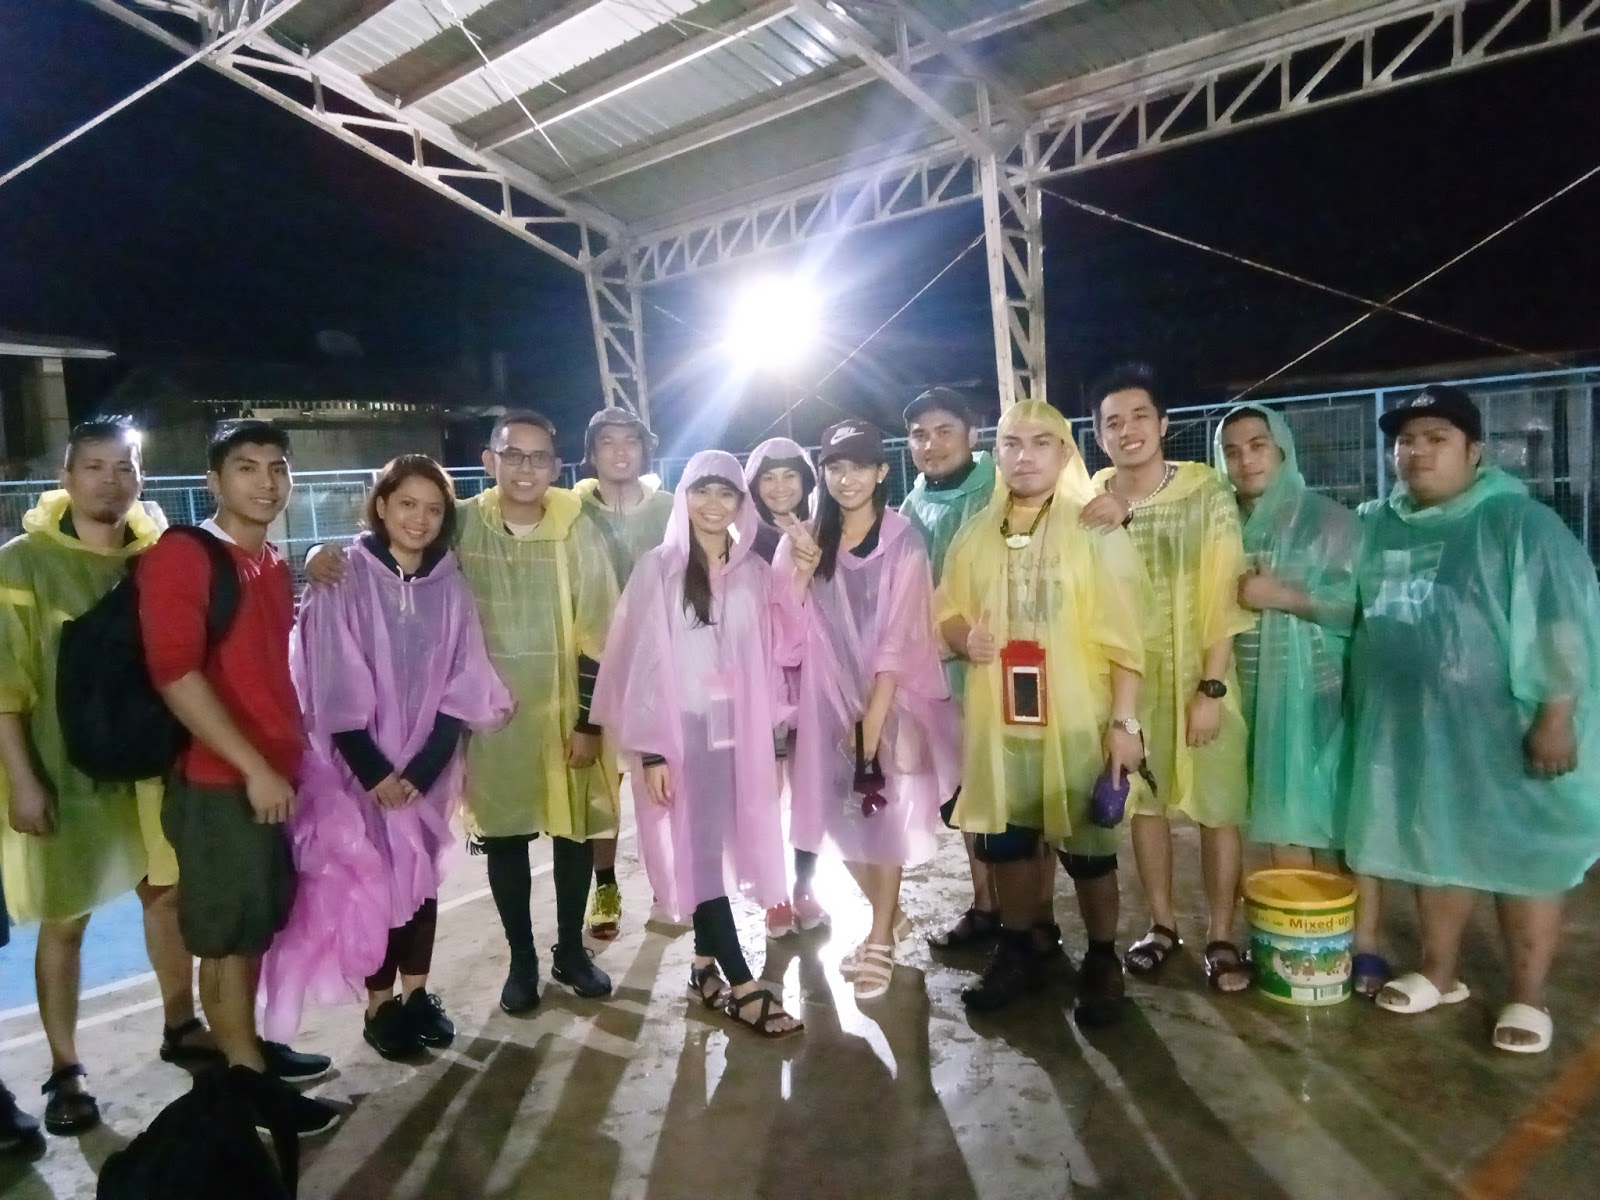
We went there last January 27, 2018 and the weather was a little rough. According to the locals, it has been raining hard prior to our hike. We came around 4am at Barangay Daraitan and it was dark and pouring making our itinerary a little delayed. If you are to bring your own ride/car, you need to park it on the other side right before you cross the river, by the way, like what we did.
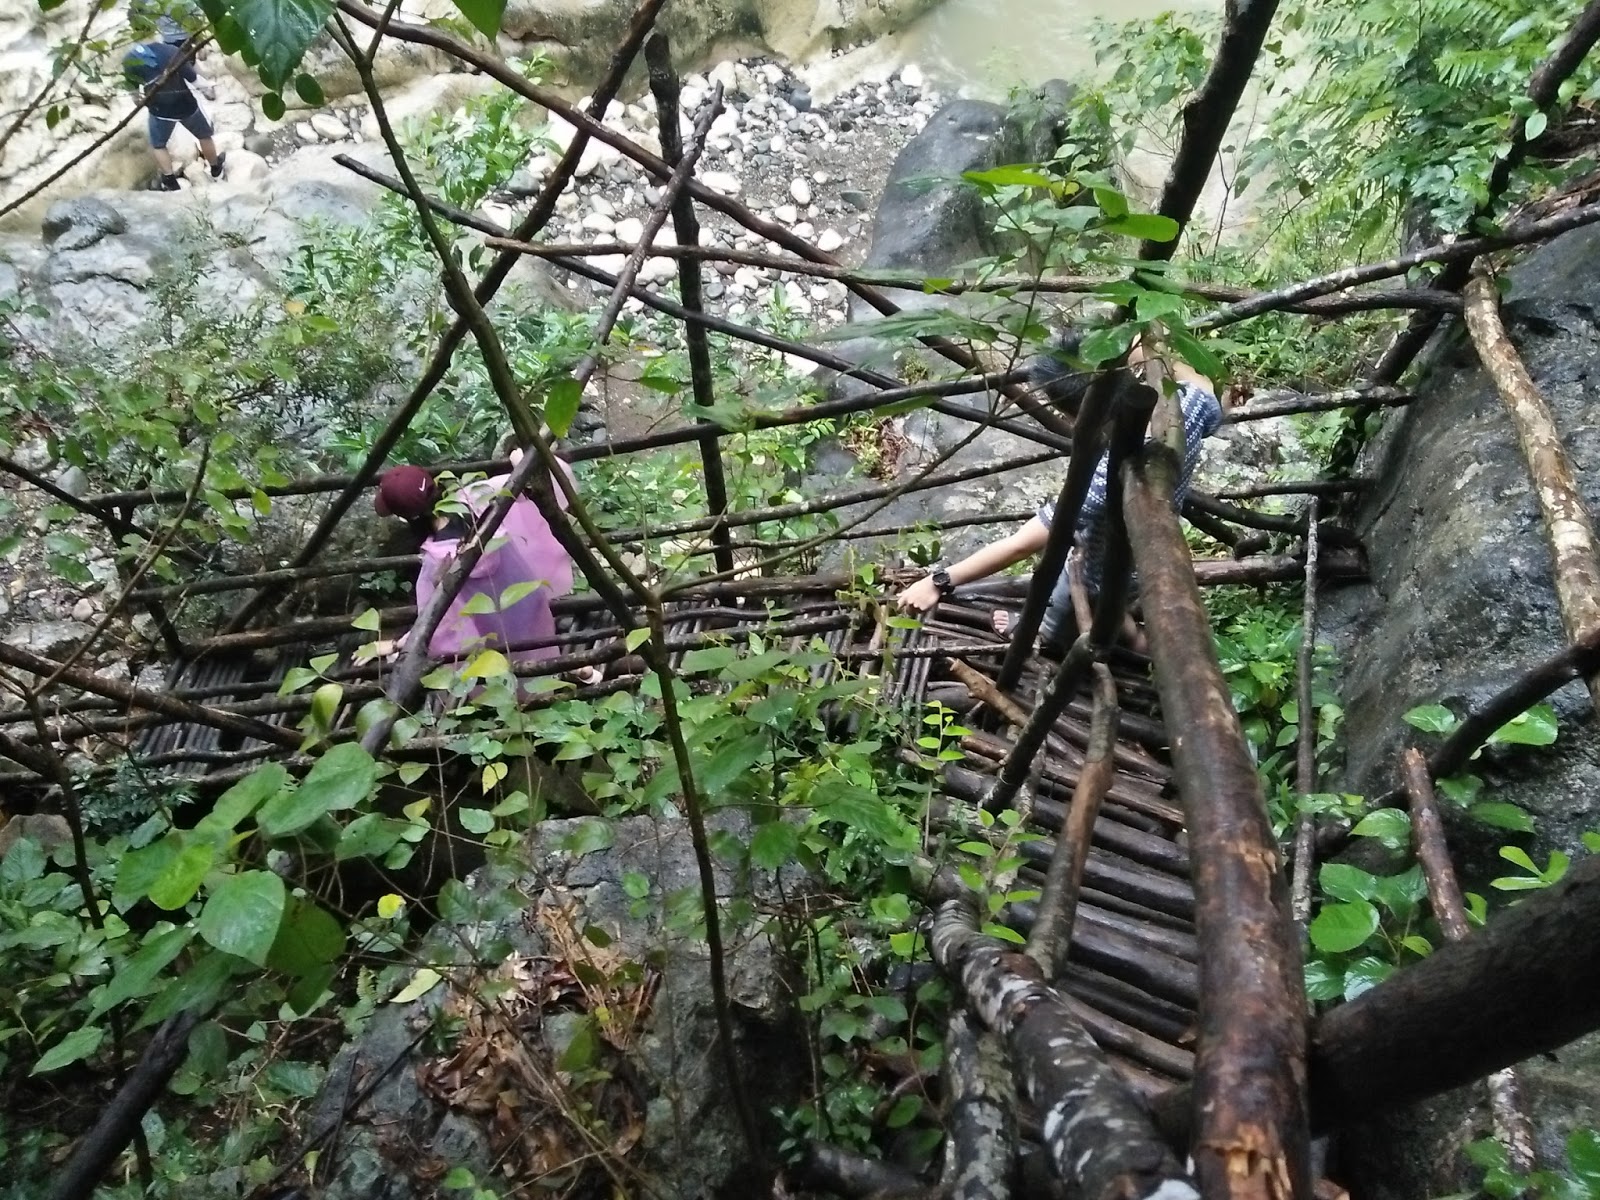
Upon your arrival at the jump off, you need to cross the river. There are three ways to cross the river, one is the blue bridge (for free) which is a little farther, another is through the bridge that they put up and disassemble depending on the weather and the other one is through the balsa. The latter two costs 5php one way. Once you have crossed the river, you have to ride a tricycle to the jump off which costs 10php per head.
Registration and tour guides are a must. Upon your arrival to the Barangay Hall, you need to pay an amount of 100php/ head for the registration fee and tour guide fee which depends on your number. A guide costs 500php for a group of five for a day hike and 1200php for overnight inclusive of the tour to the side trips such as Tinipak River and Cave.
We had a short briefing given by our tour guides
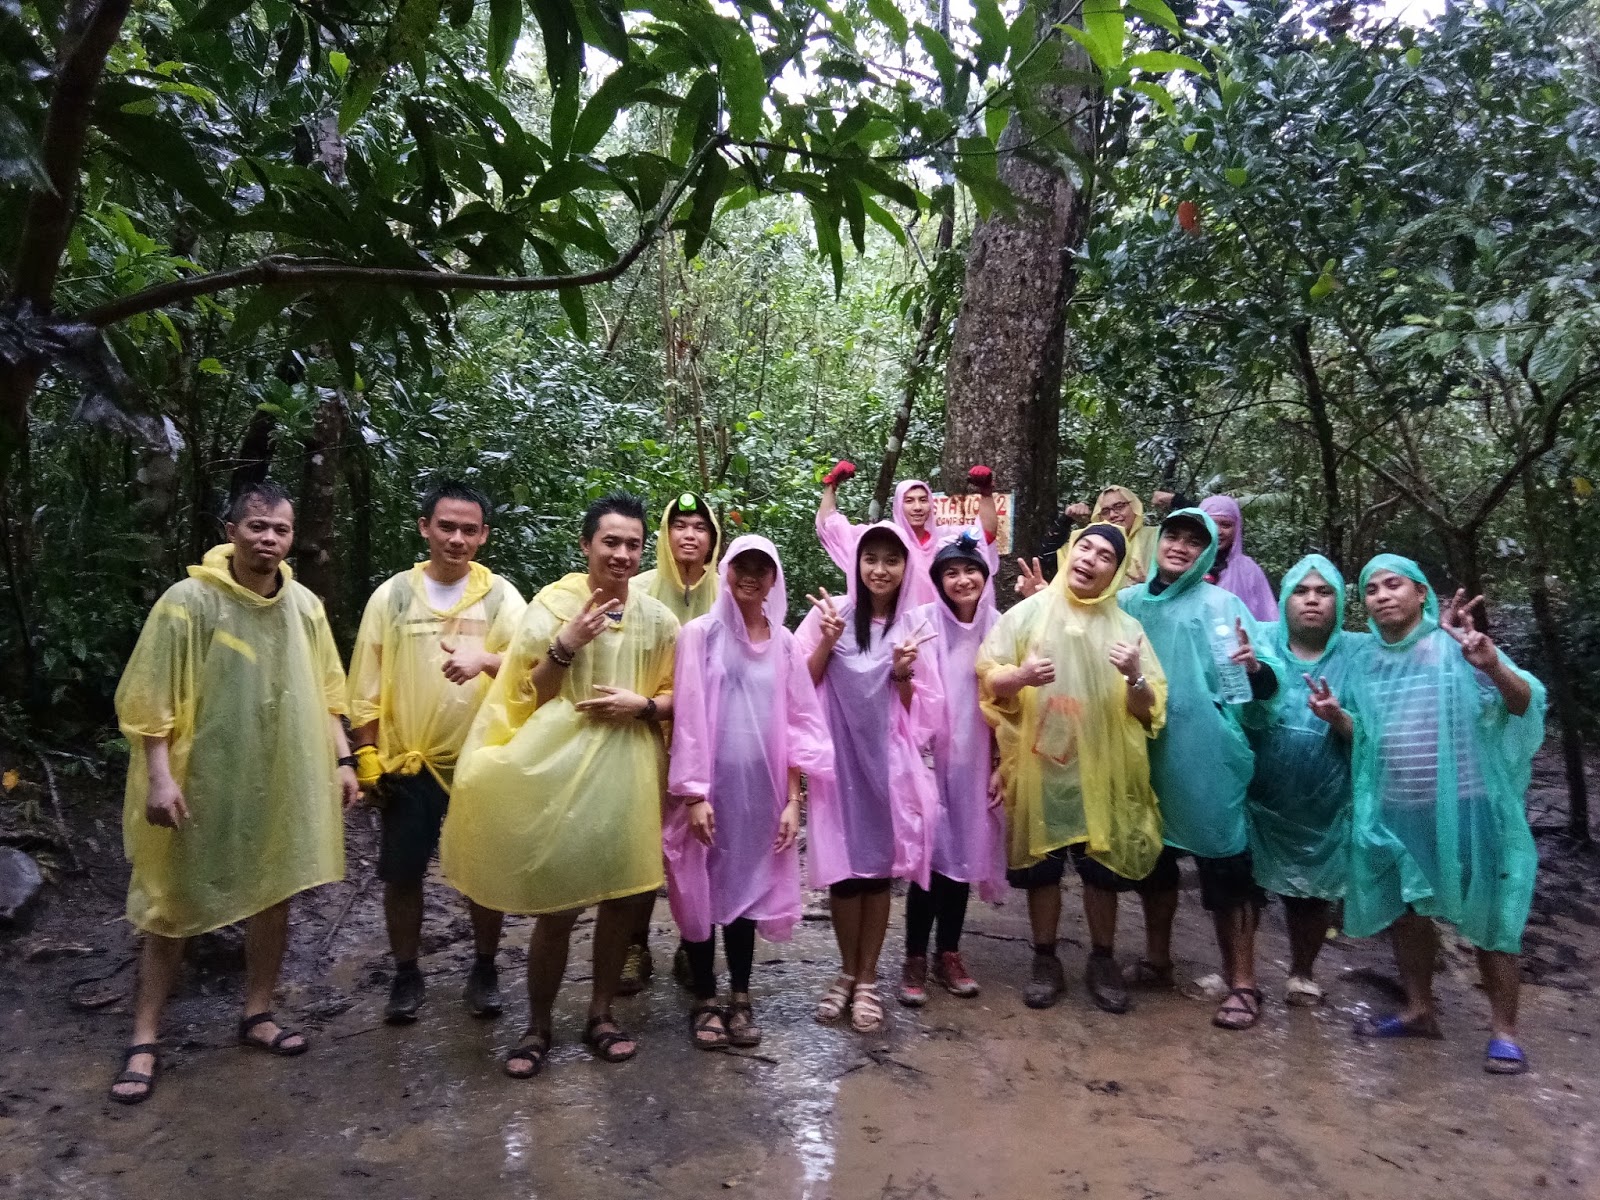
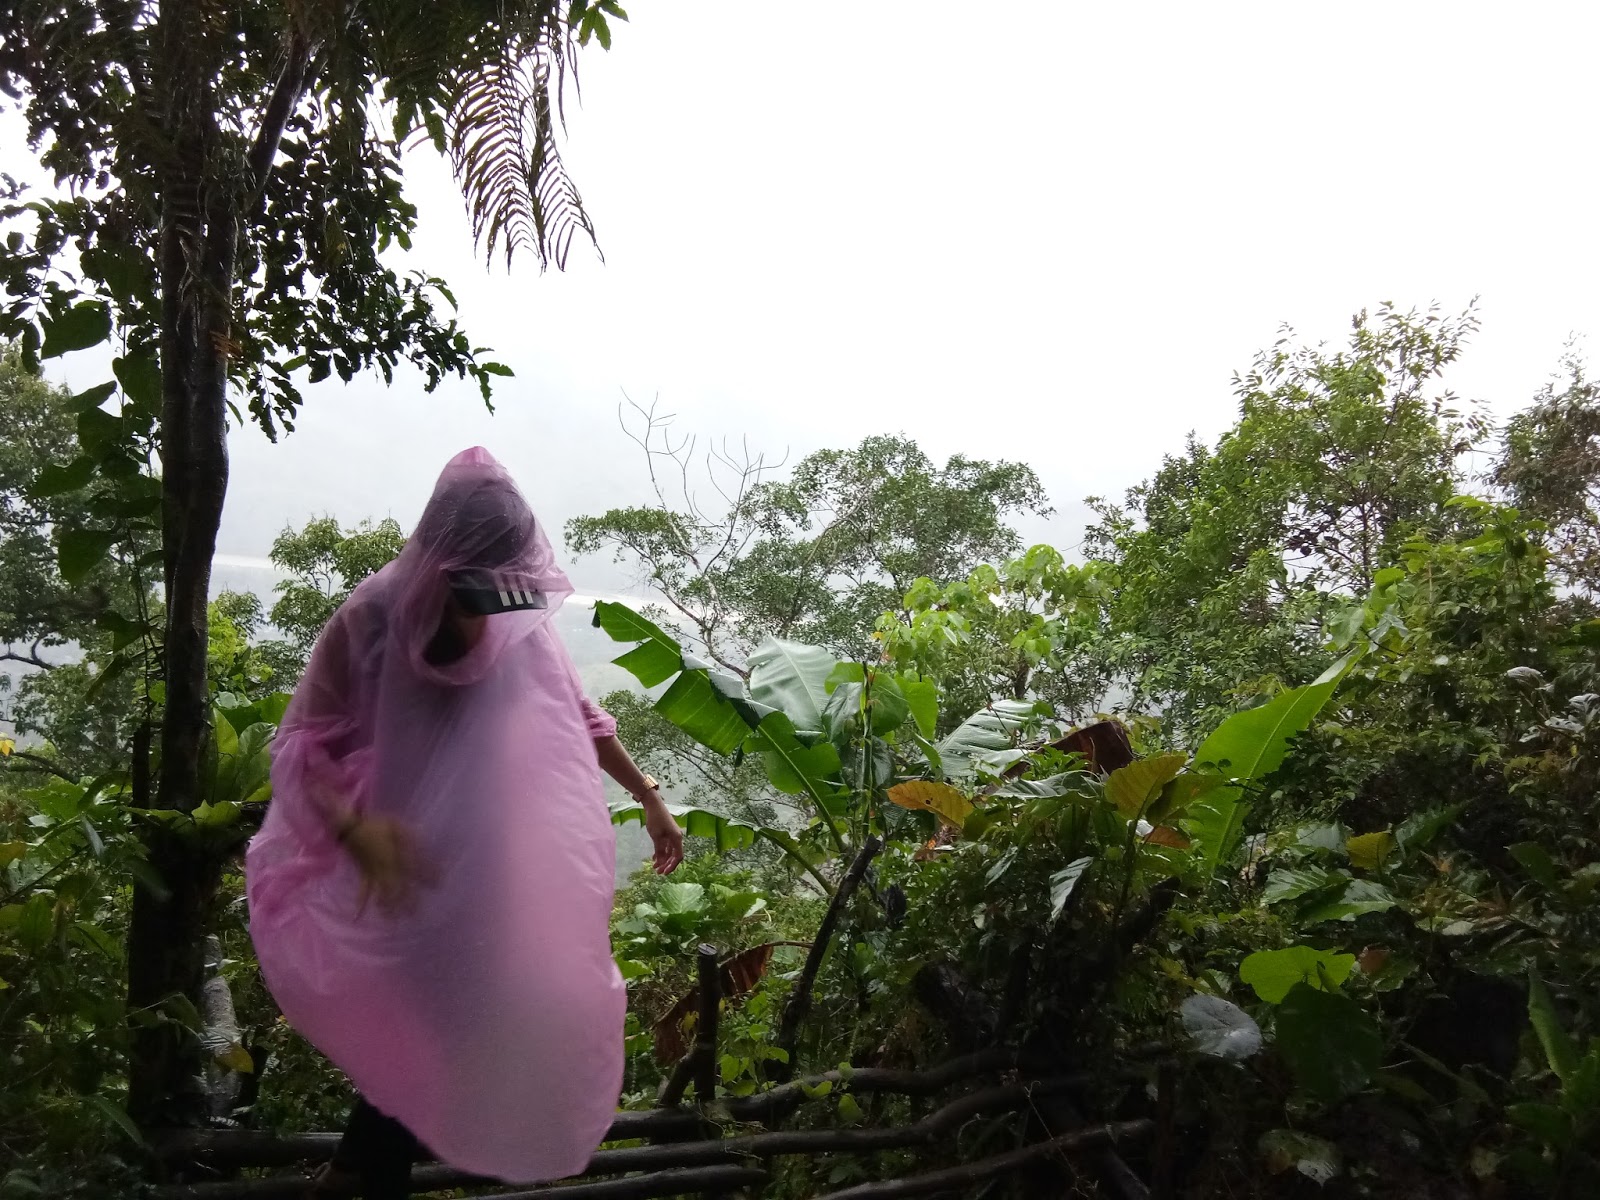
Since it was pouring, we bought poncho for 60php each. we started the hike at almost 6am. If you are to start the trek earlier than 6am, a headlight is a must. Yes, headlight, because you are to do a lot of crawling. You may also want to use gloves since some limestone cuts like hell on the trail. Proper footwear for hiking/trekking should also be used since the limestone are slippery therefore not to be underestimated too.
The trail was indeed difficult and it seemed like a non-ending assault. Therefore, this mountain is definitely not for beginners. According to our guide, it’s 90% assault which was actually true. It’s a little scary as well since a fall and a slip could lead to serious damage and injury due to the sharp limestone seated at the mud and in the trail.
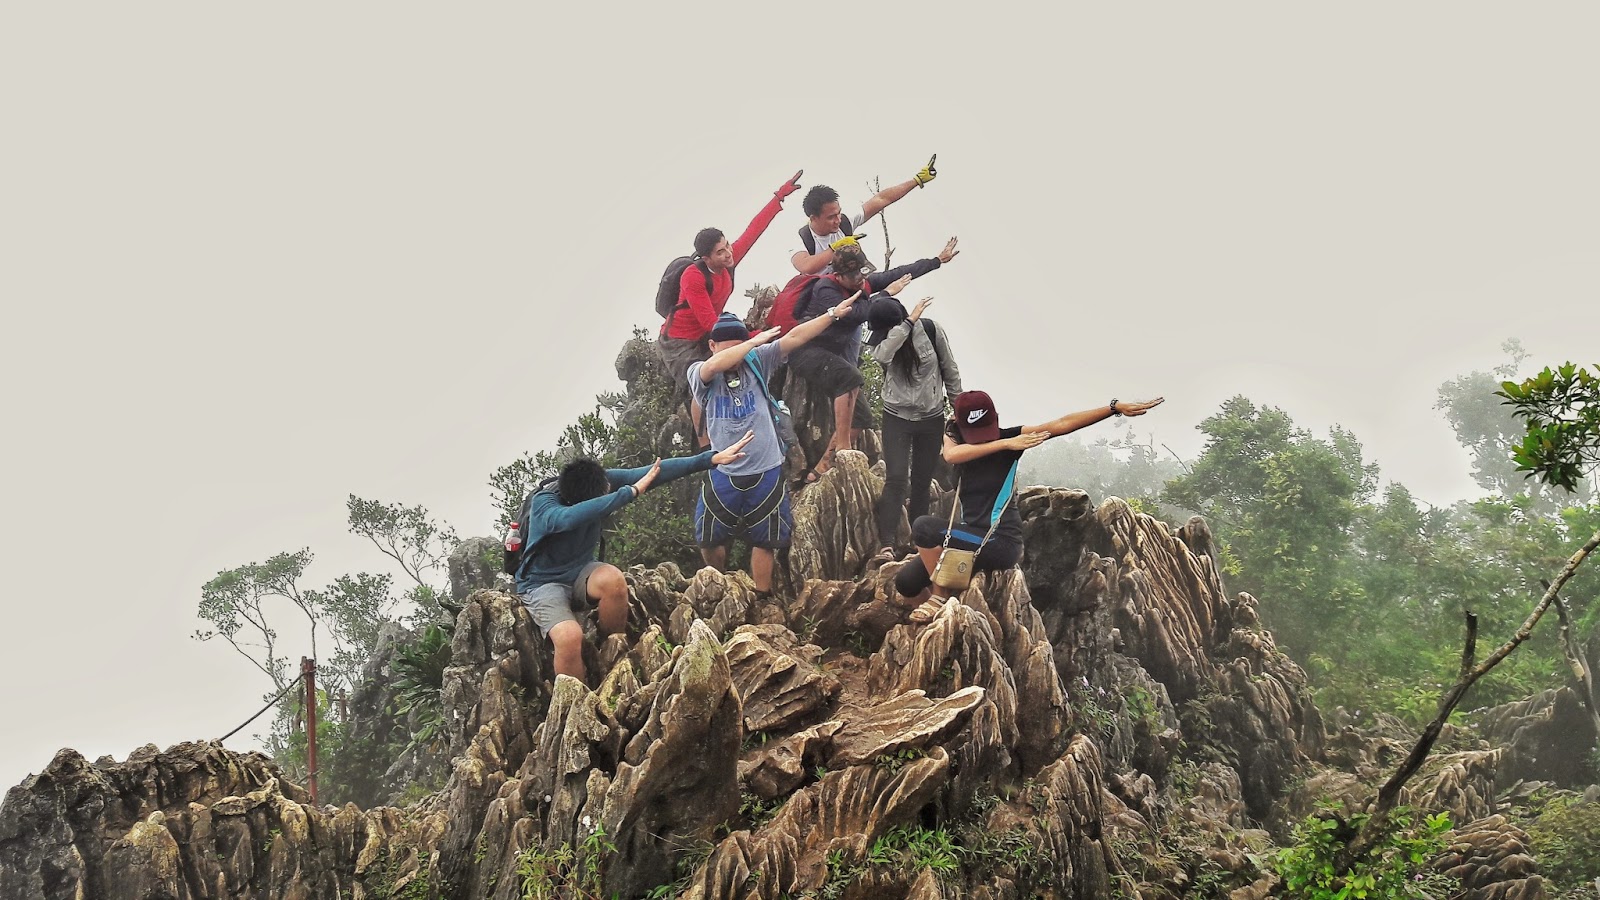
Here’s a photo of us on the only plain we could remember along the trail. lol. That’s why we managed to take a very good group photo.
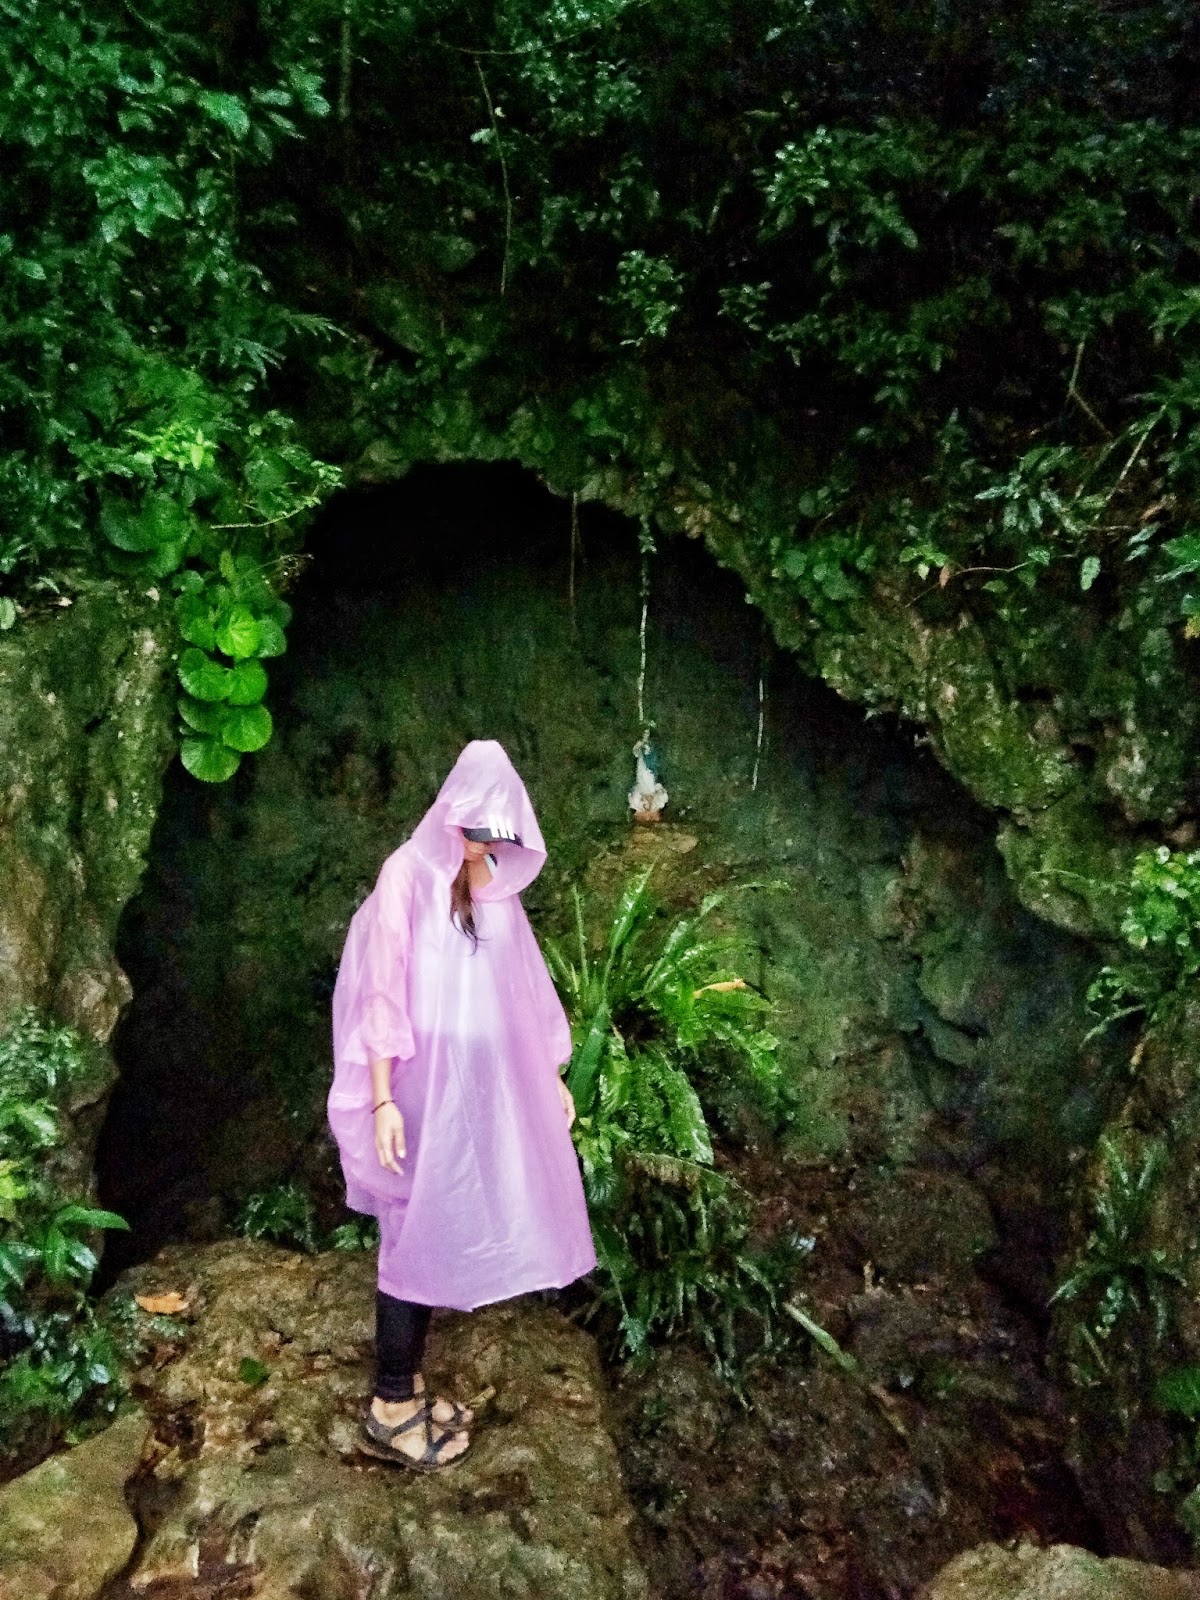
After an hour, we reached the first station which has the grotto of the Mother Mary. We stayed there for 10 minutes enough to catch our breath, munch a little of our trail food and hydrate. Good thing, it was raining and cold which made us tired less. We just couldn’t imagine the tiresome trek if it was on a scorching hot summer day.
After the first station was the station two (an hour away) then three which has the camp site. There are stores offering coffee, cup noodles and boiled eggs upon our arrival. We had our light breakfast there because it’s just a few minutes away from the summit. It is advisable to bring your own food instead of buying because it becomes a little pricey up there. But of course, buying from them would be a big help to the locals. I don’t find haggling okay, too, since it must be very difficult for them to go up there and set up the small store on that kind of weather.
It was freezing when we reached the camp site and we are soaked in rain and a little sweat that’s why we advanced to the summit.
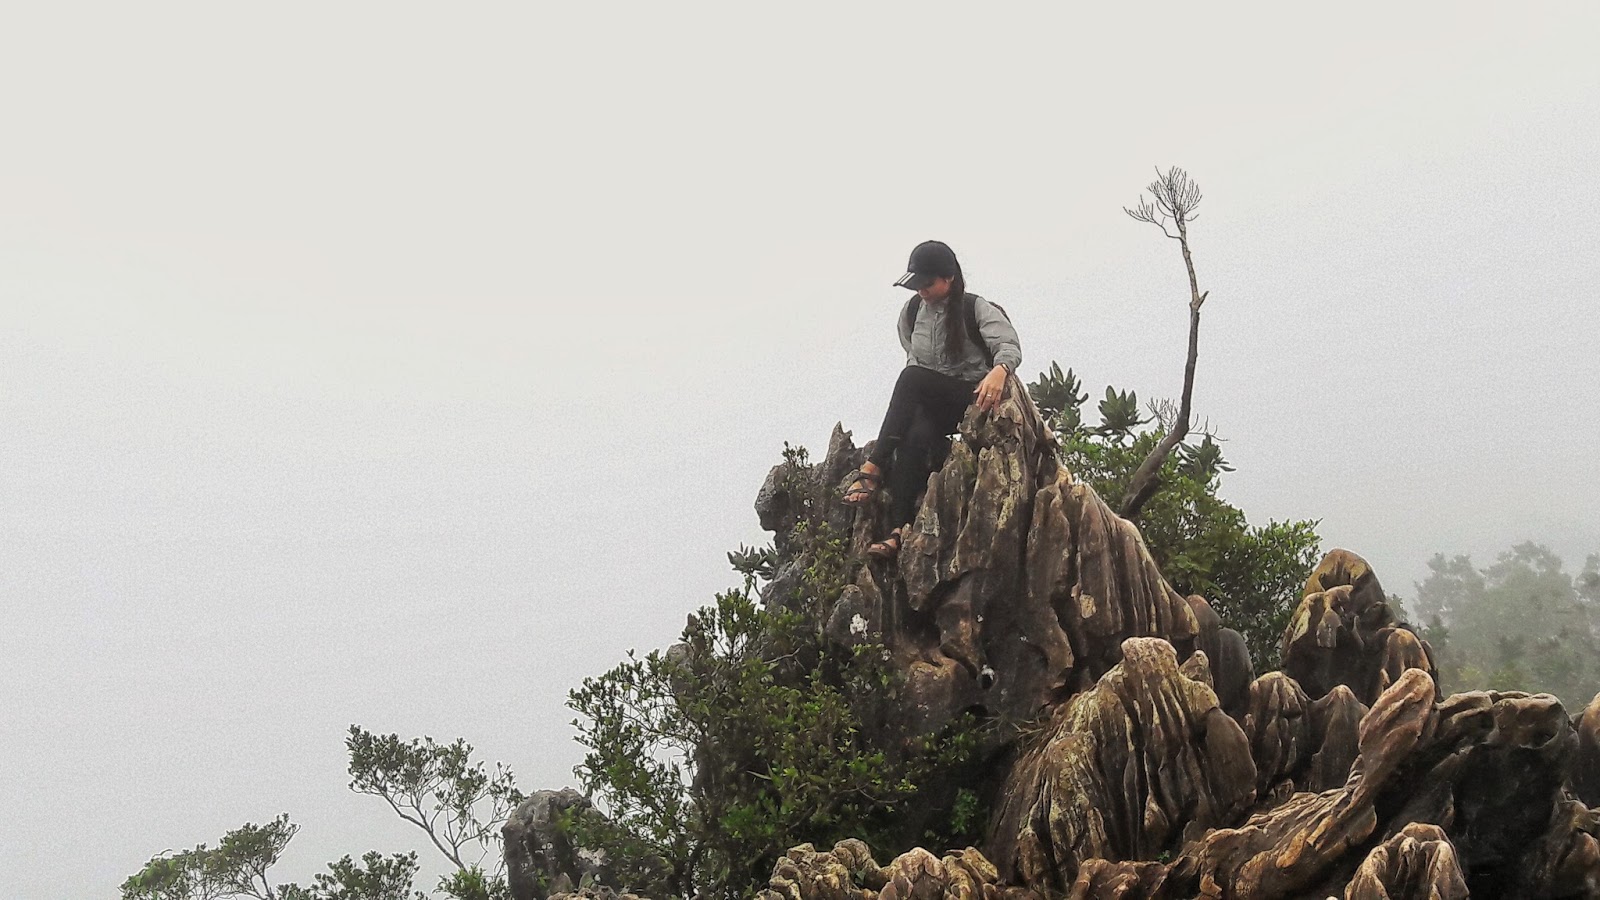
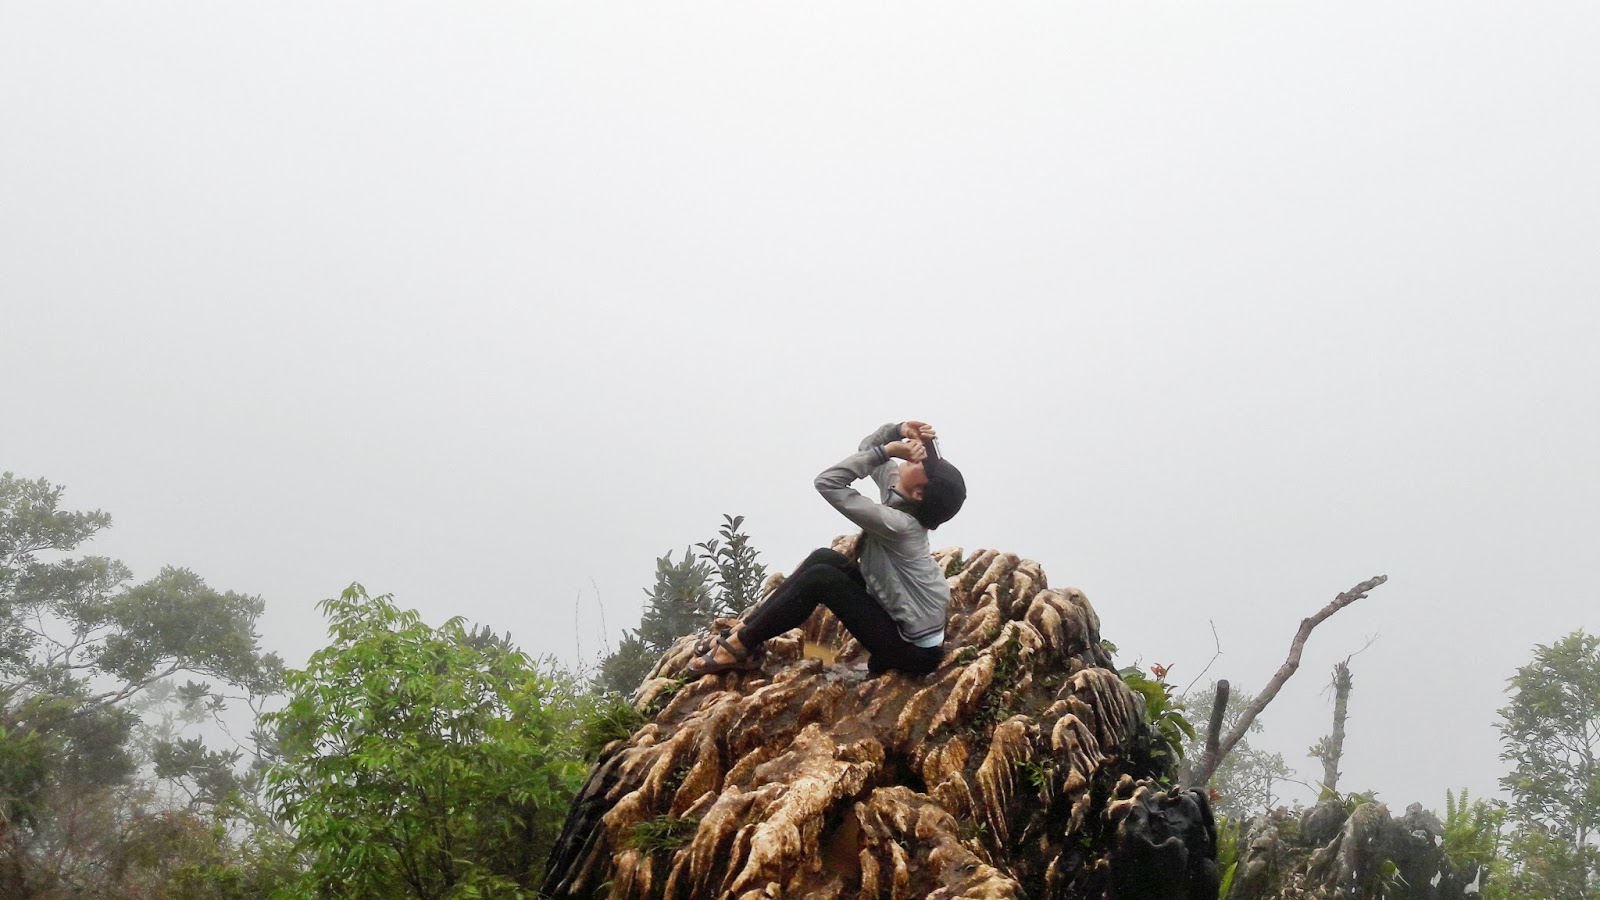
It was raining hard and the wind was a little violent by the time we got into the summit but there are seriously a lot of people in line to take a picture at the rock formations. We arrived there at around 10am.
There are at least three to four spots at the summit which are best for the instagrammable summit photos. However, there was no clearing. Despite the bad weather, people still lined up for it.
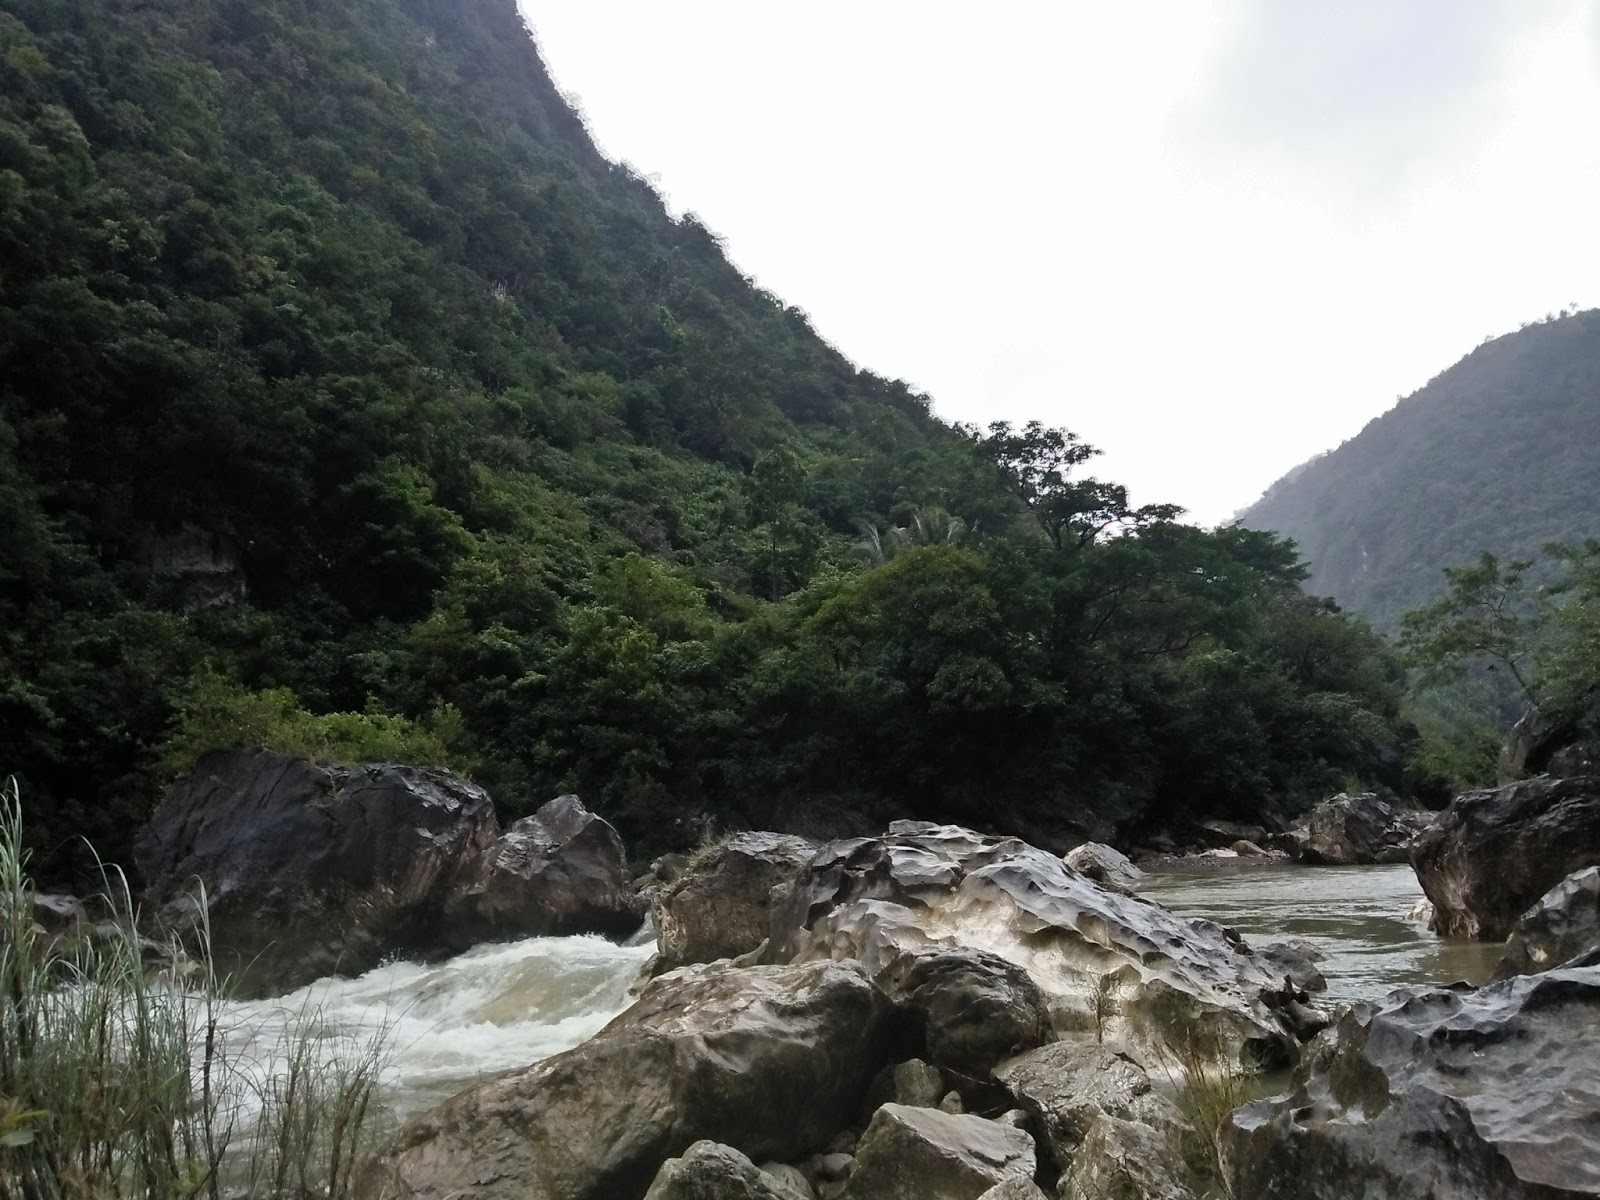
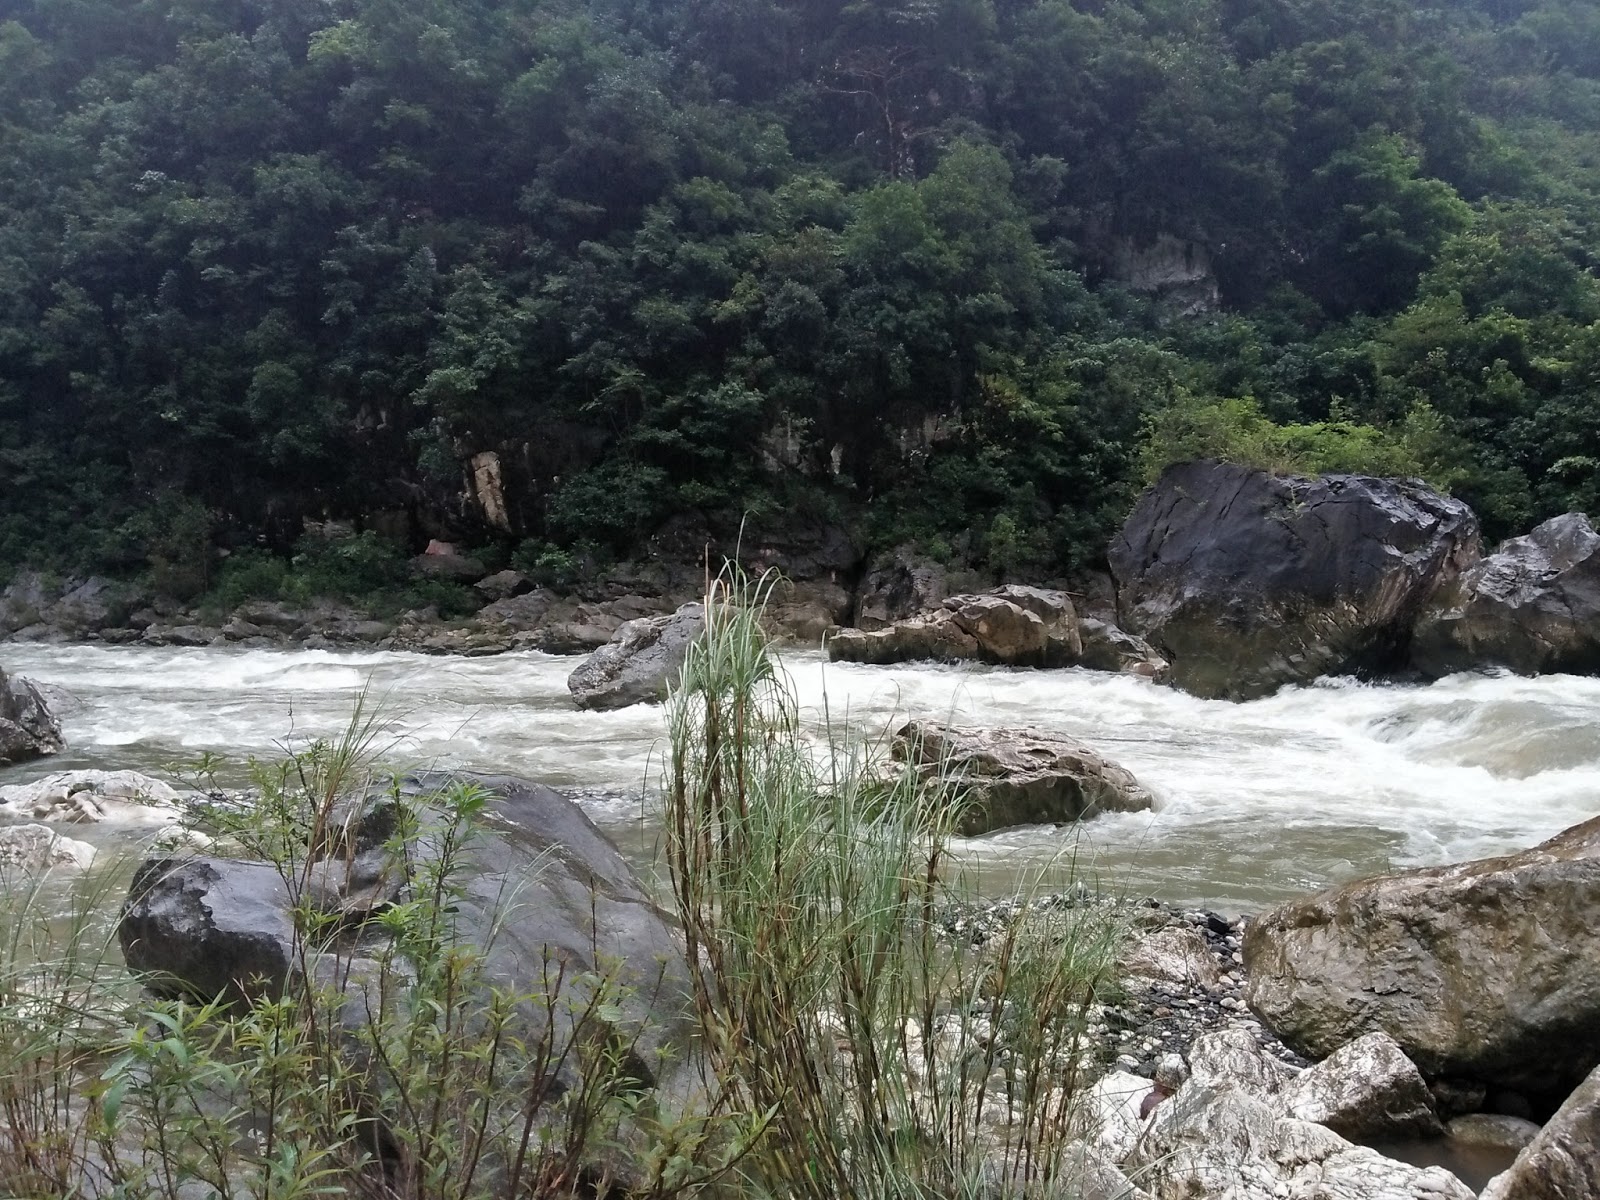
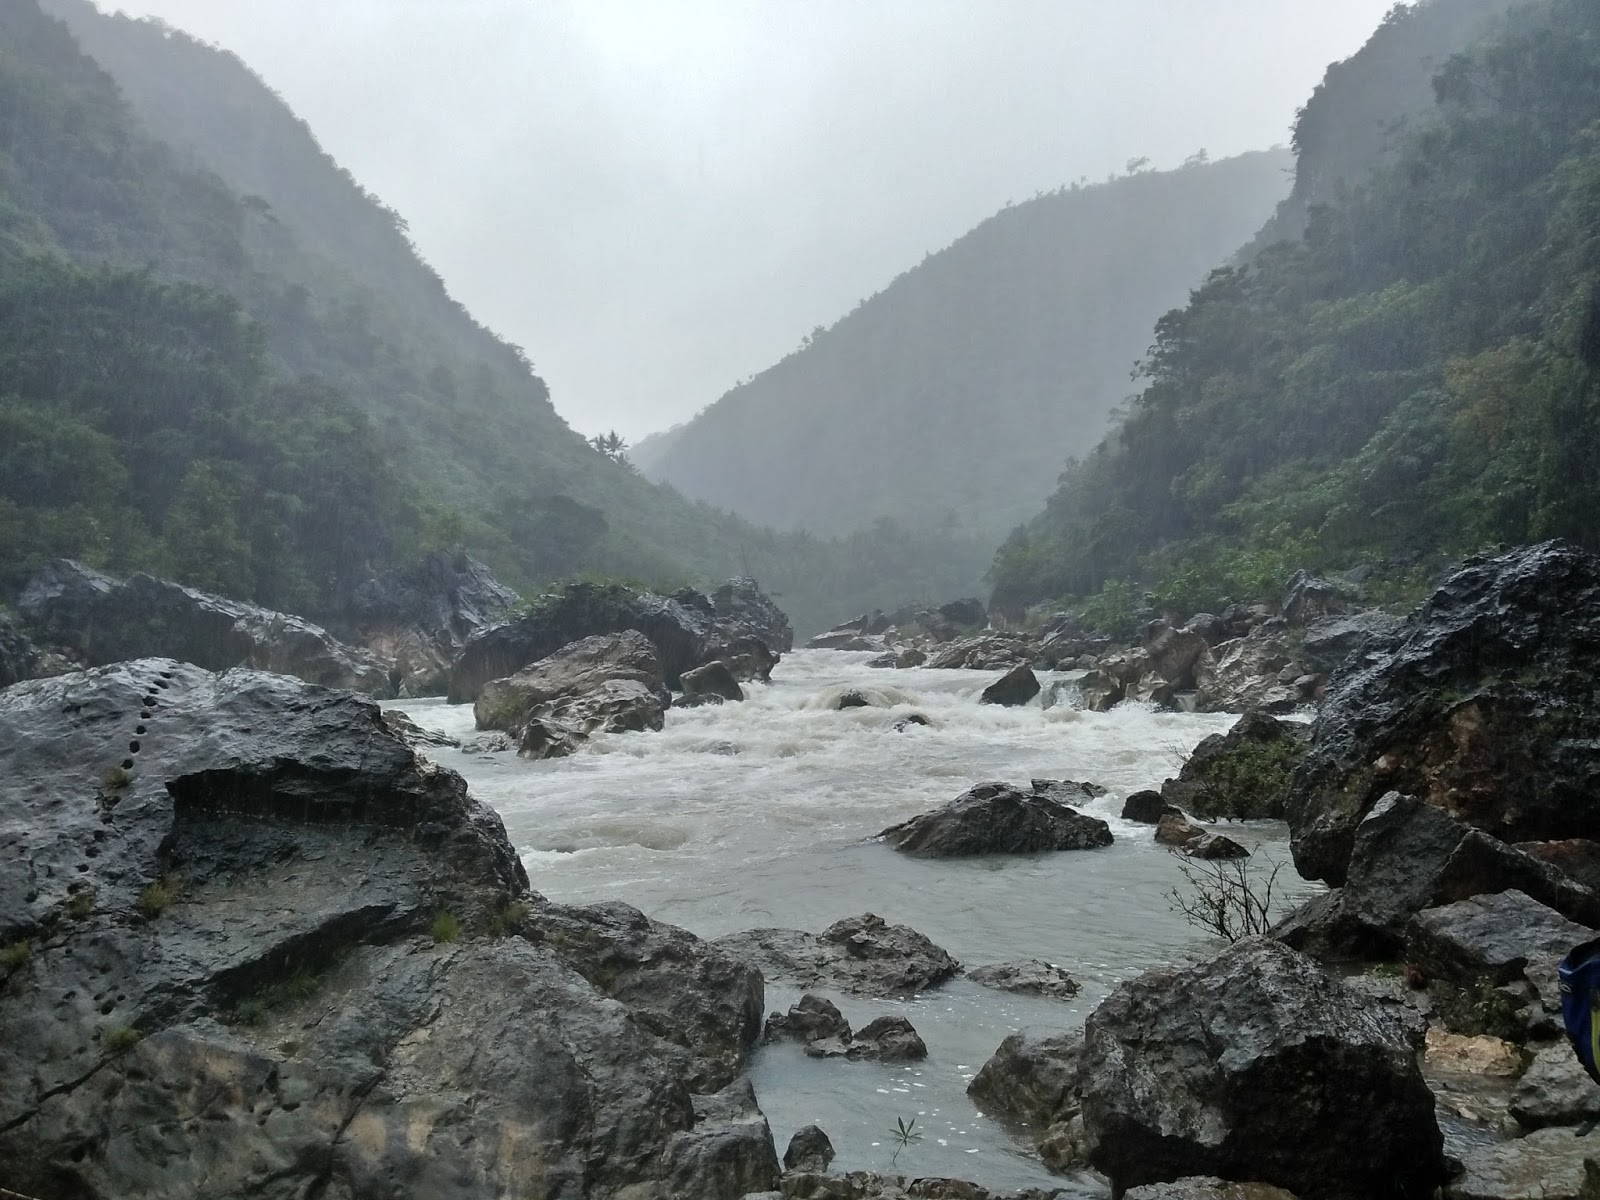
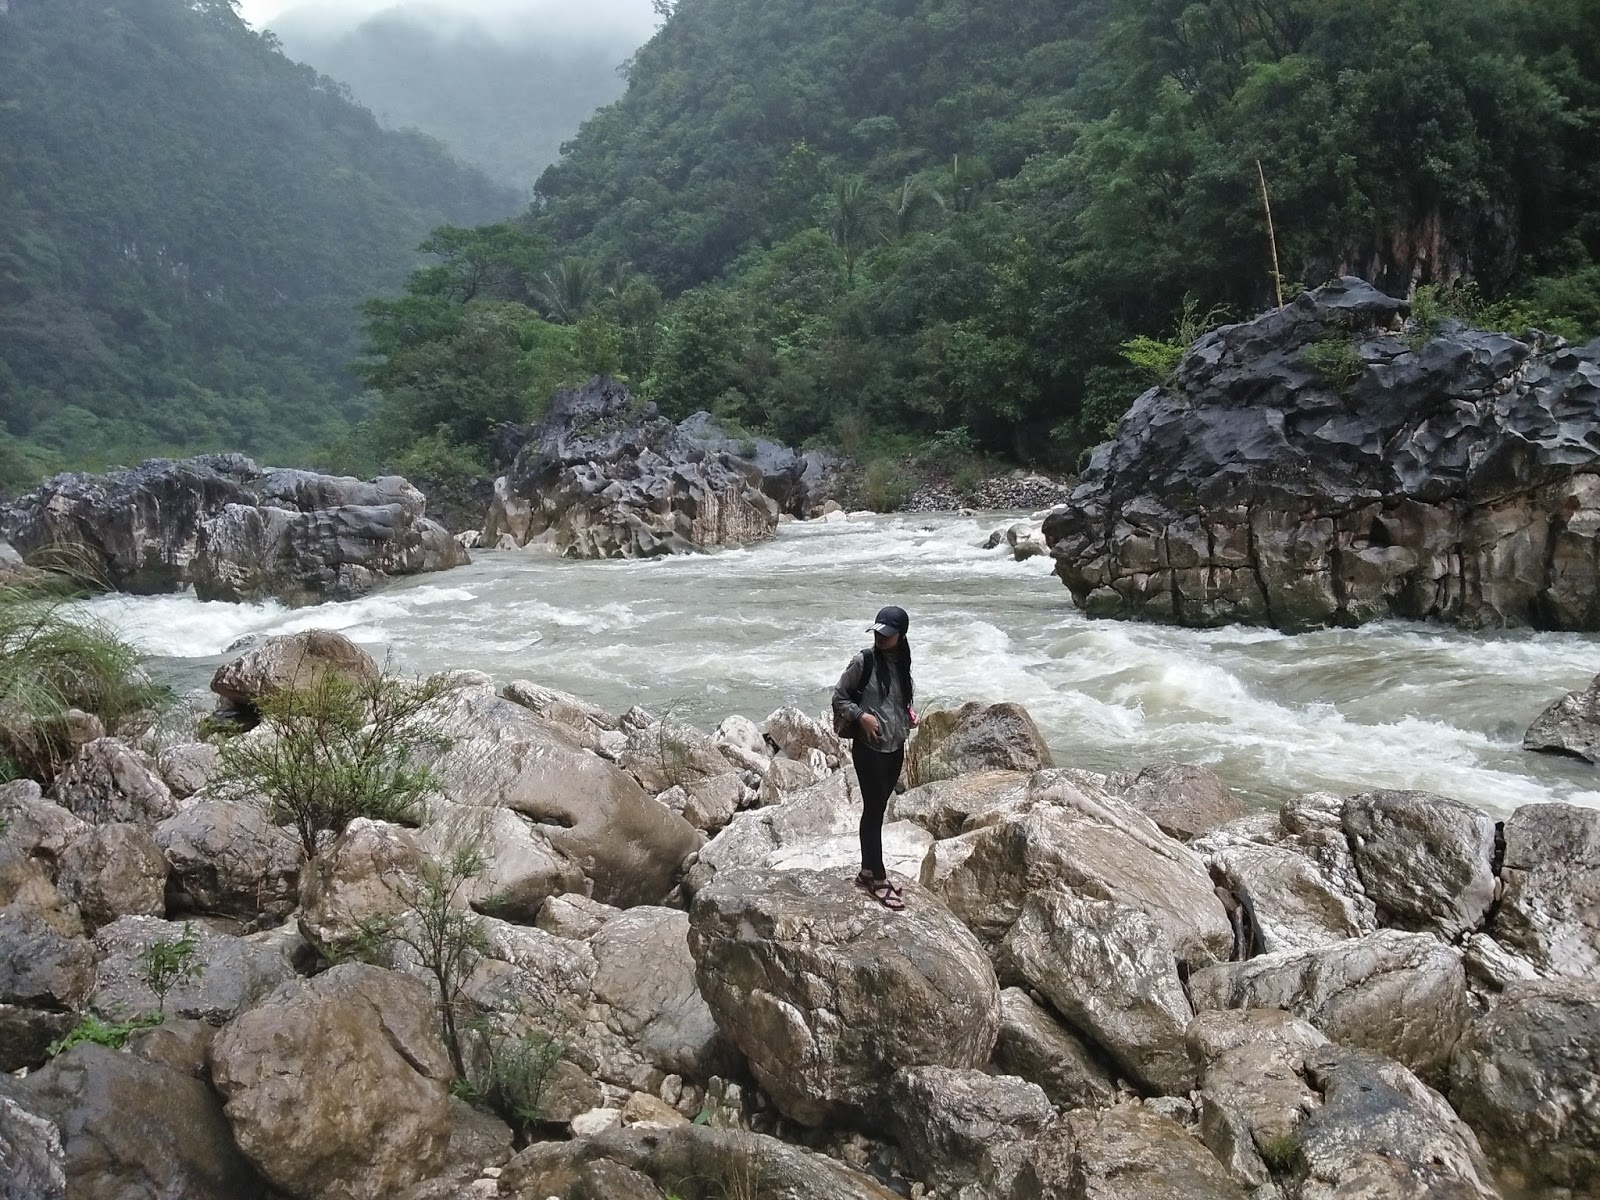
At 11am, we started descending. We chose to traverse to Tinipak River instead of back trailing because we would like to bathe into its waters and enjoy the sight of the astounding limestone formations we have seen prior to our trip. It took us three hours to get into the nipa house and canteen by the river.
We had our lunch at 2pm and washed off the mud on our stuff and body. After a hearty late lunch on a bed weather, we proceeded with the trek to Tinipak River. It took us 25-30 minutes to reach the Tinipak Camp Site by the river.
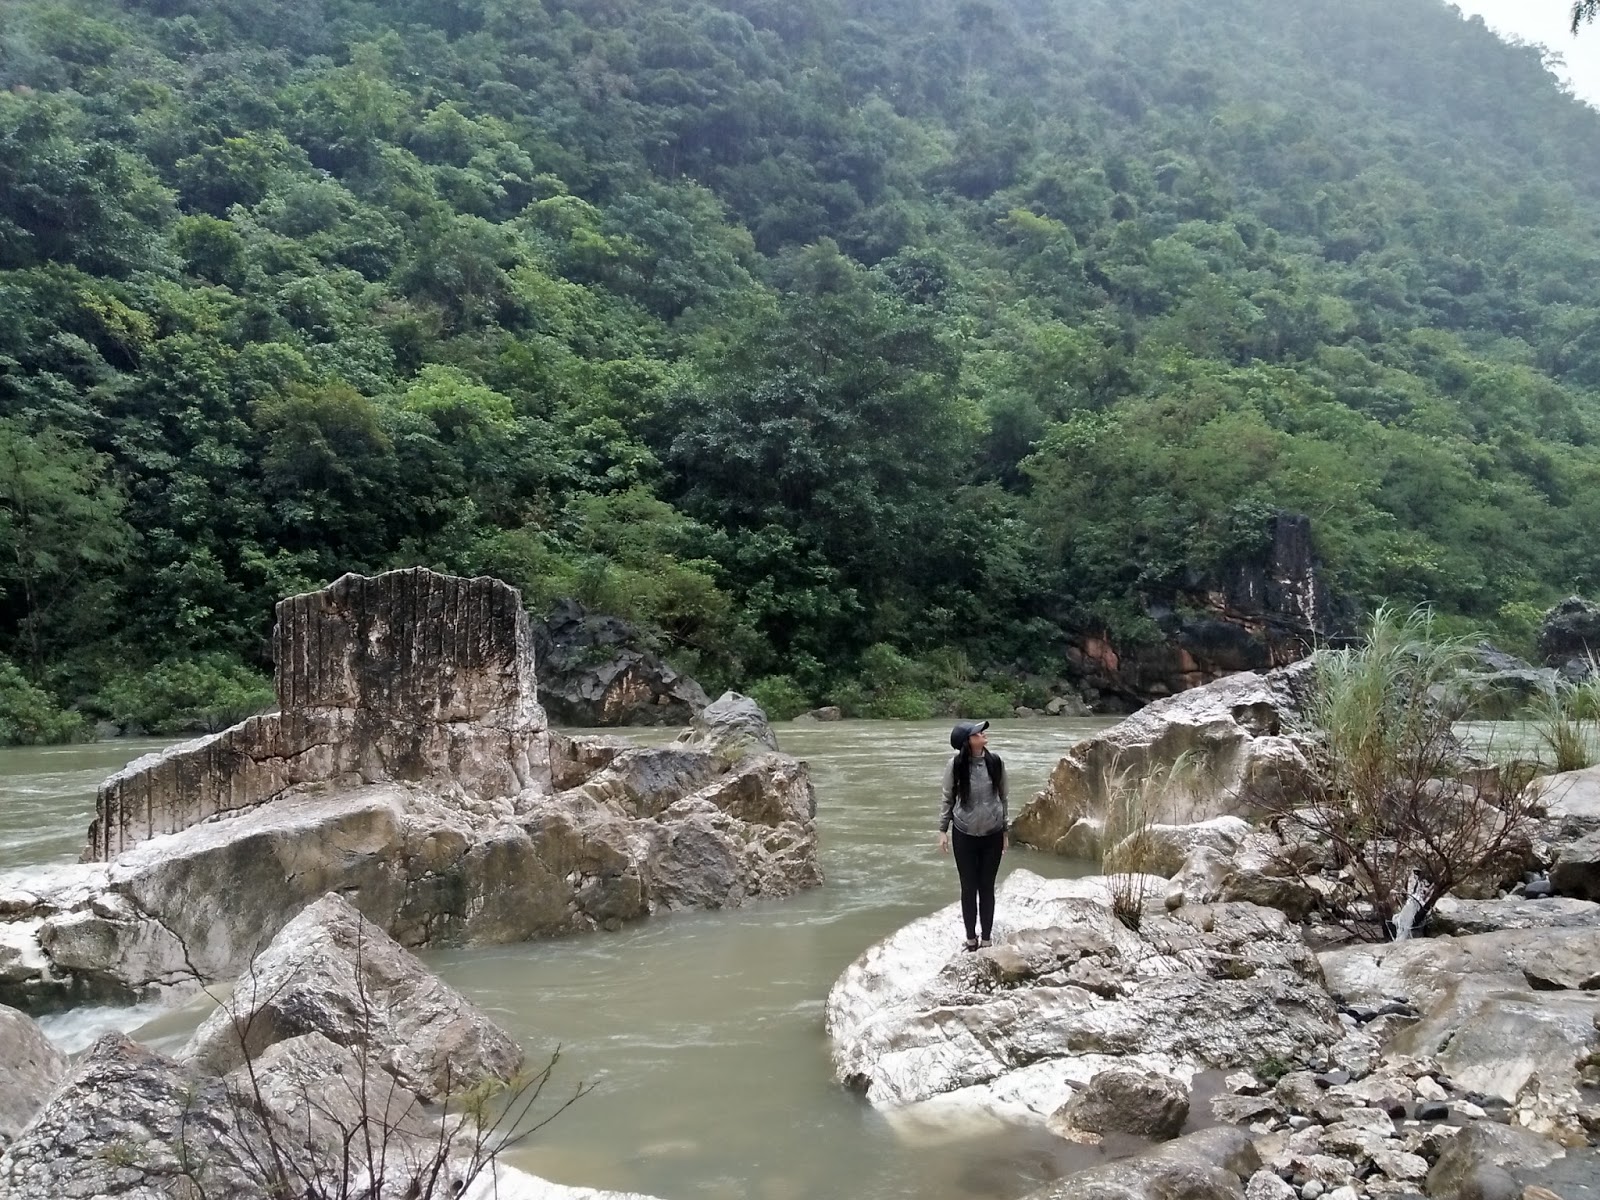
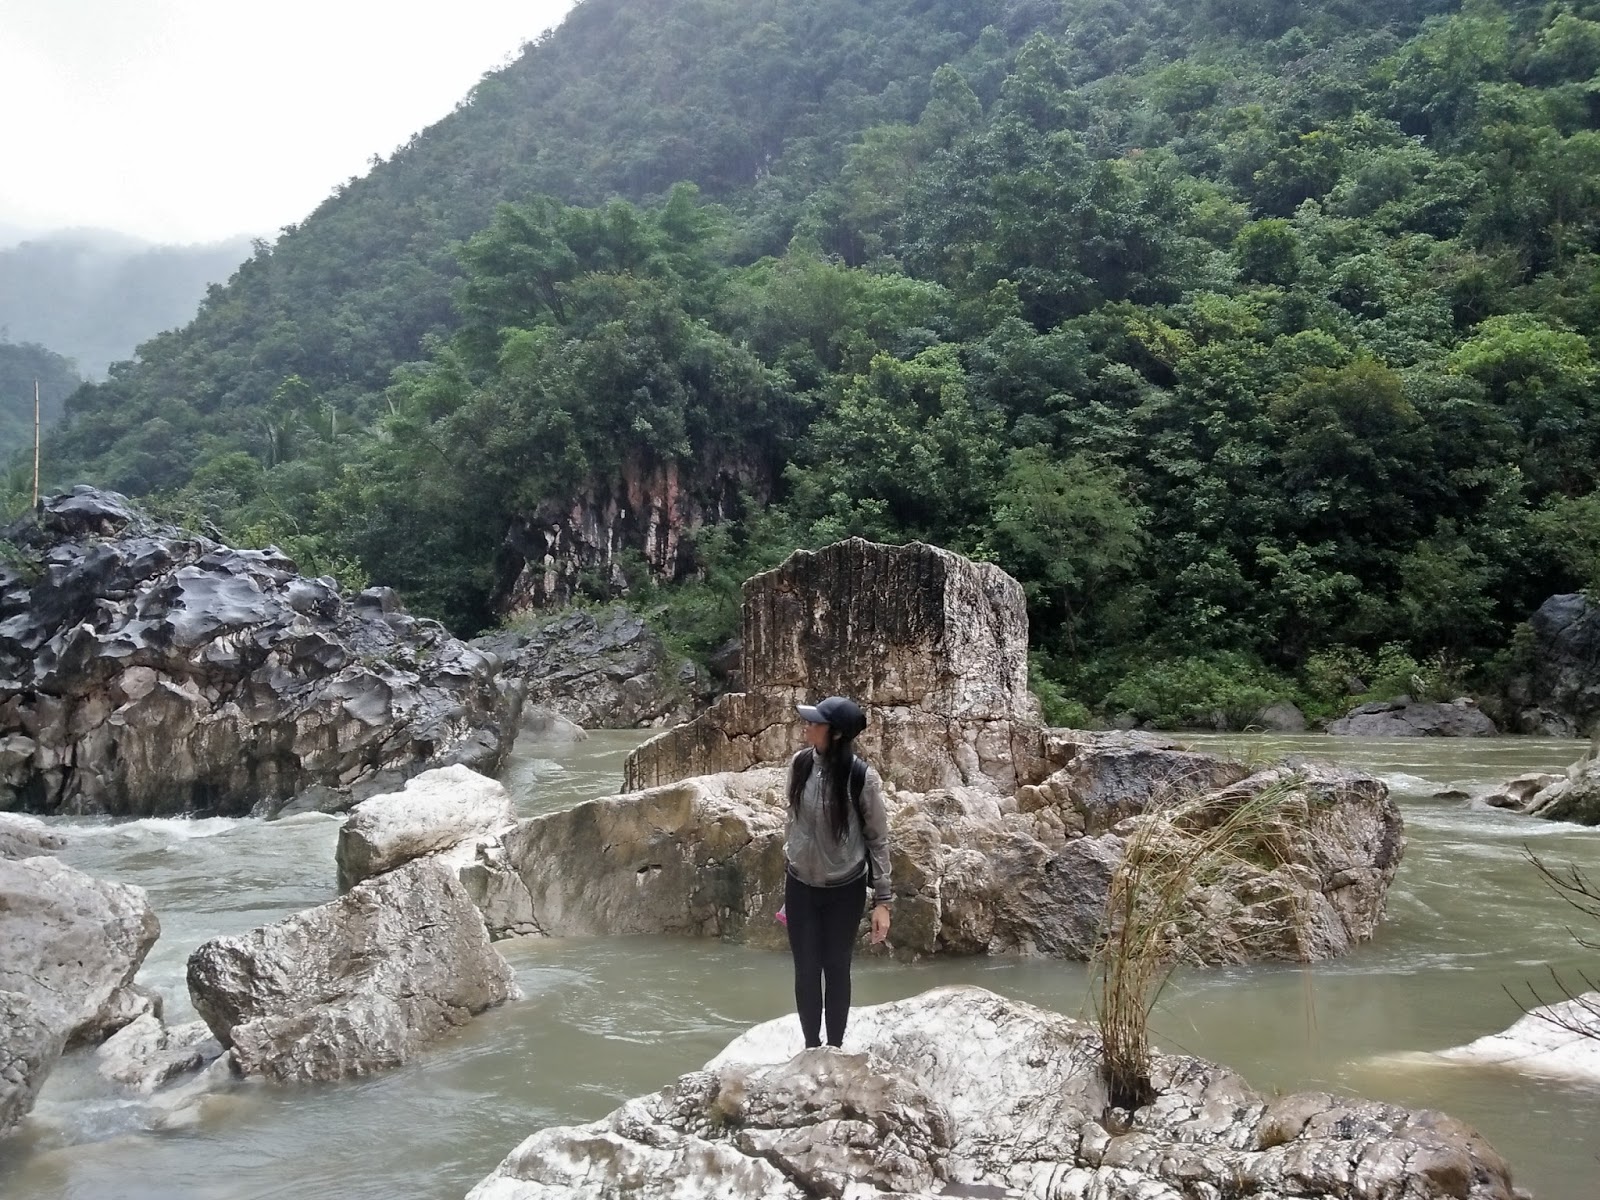
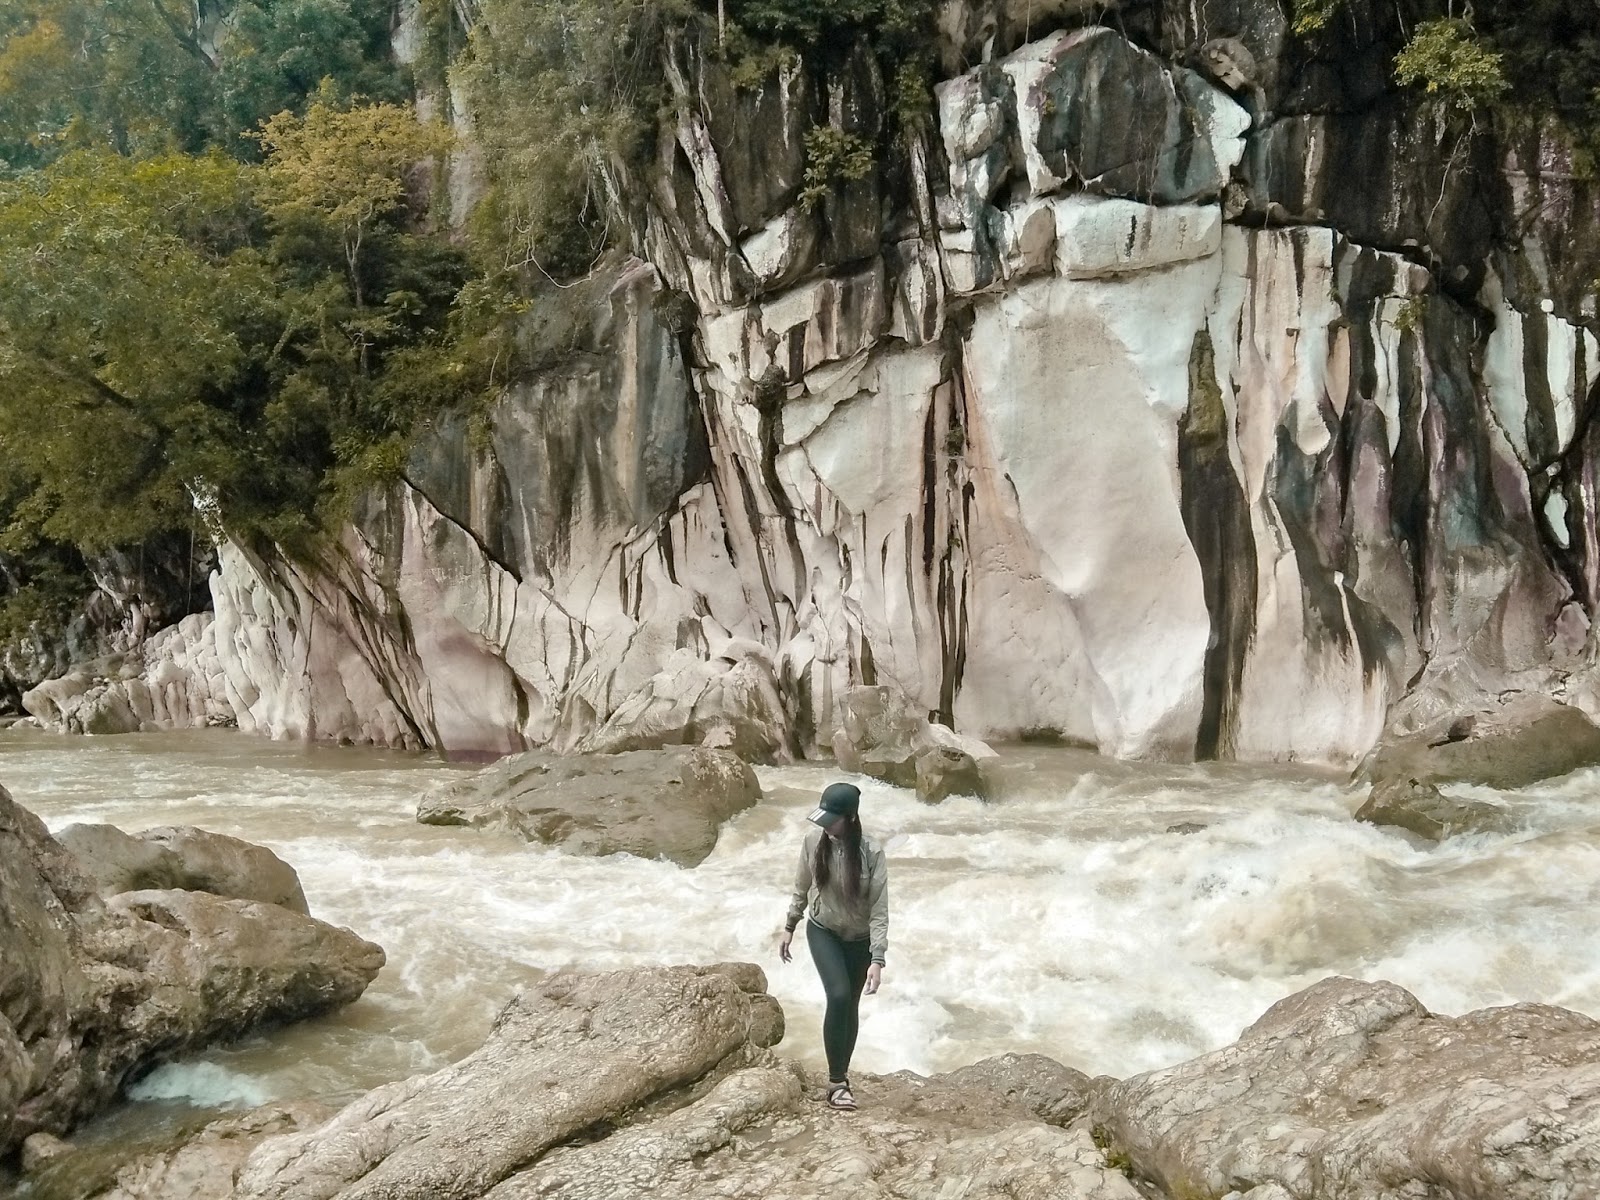
These are photos taken on our way to the Tinipak River’s limestone formation and camp site. It’s worth stopping by for some shots since the rock formations are also fascinating.
We paid 20php per head for the registration fee and continued with a 15min trek to Tinipak River.
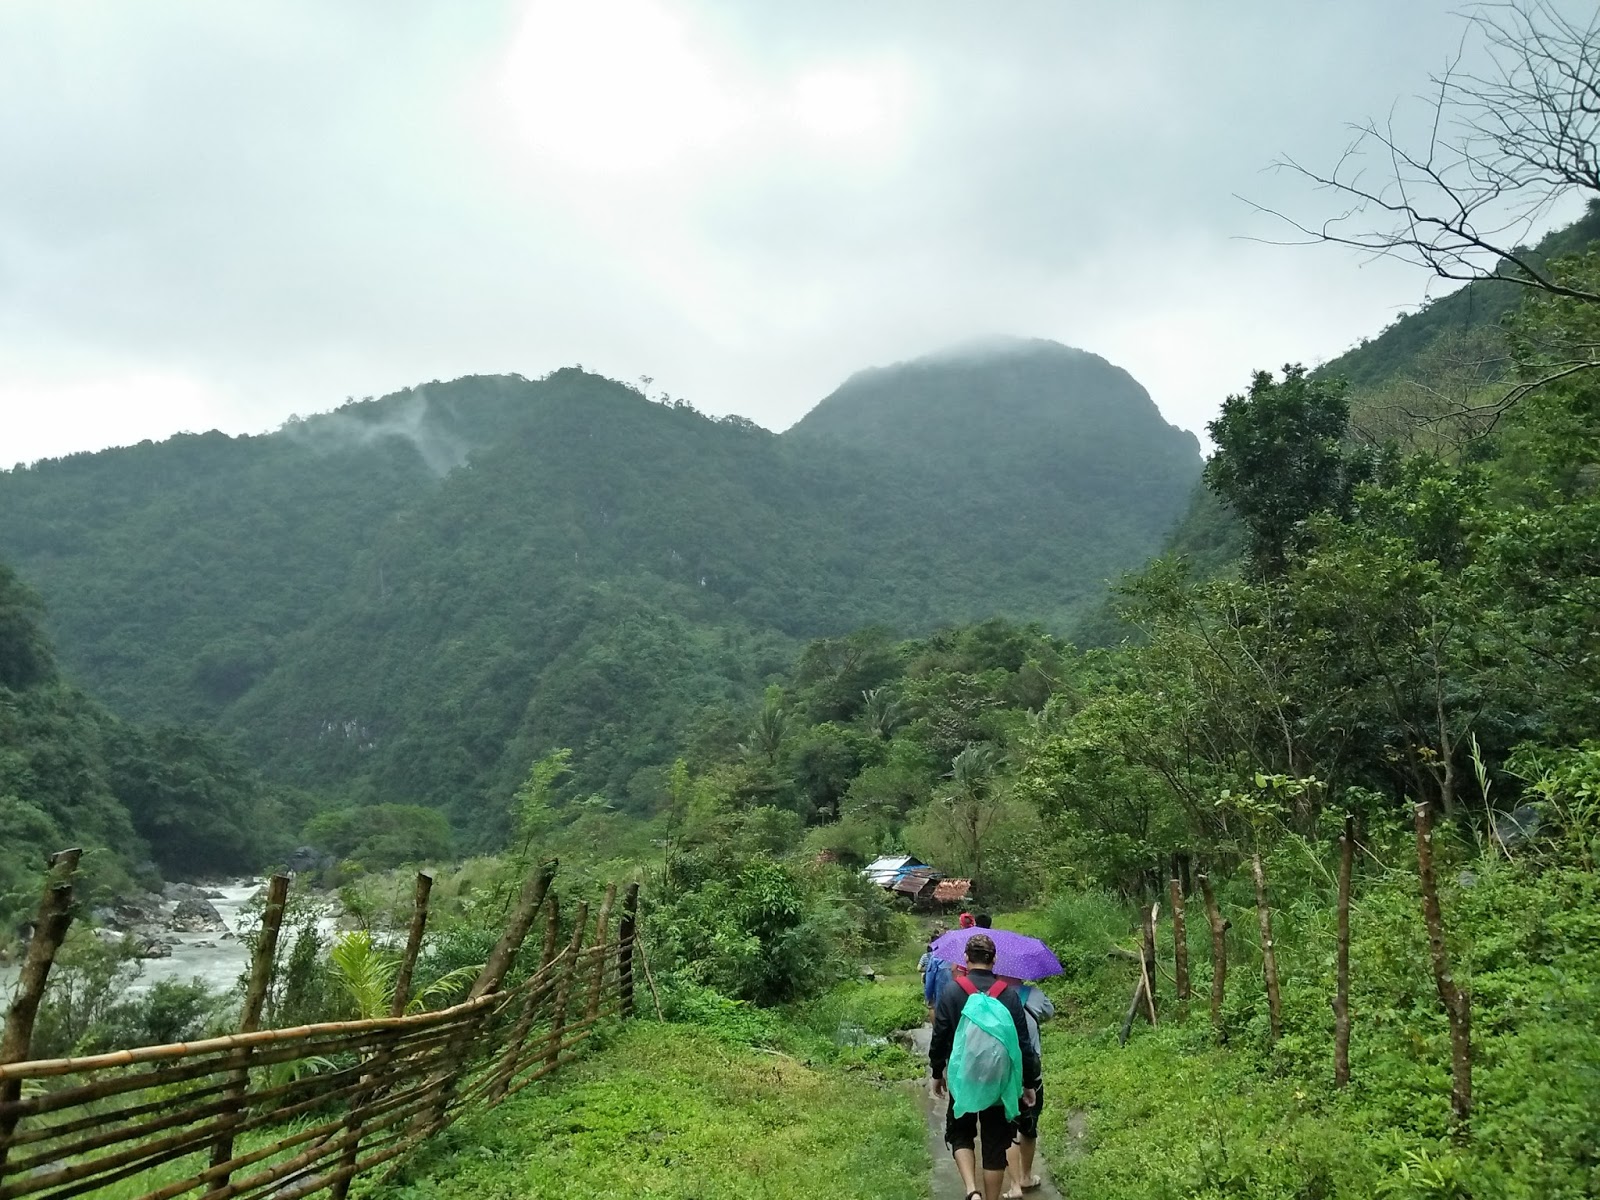
Going to Tinipak River
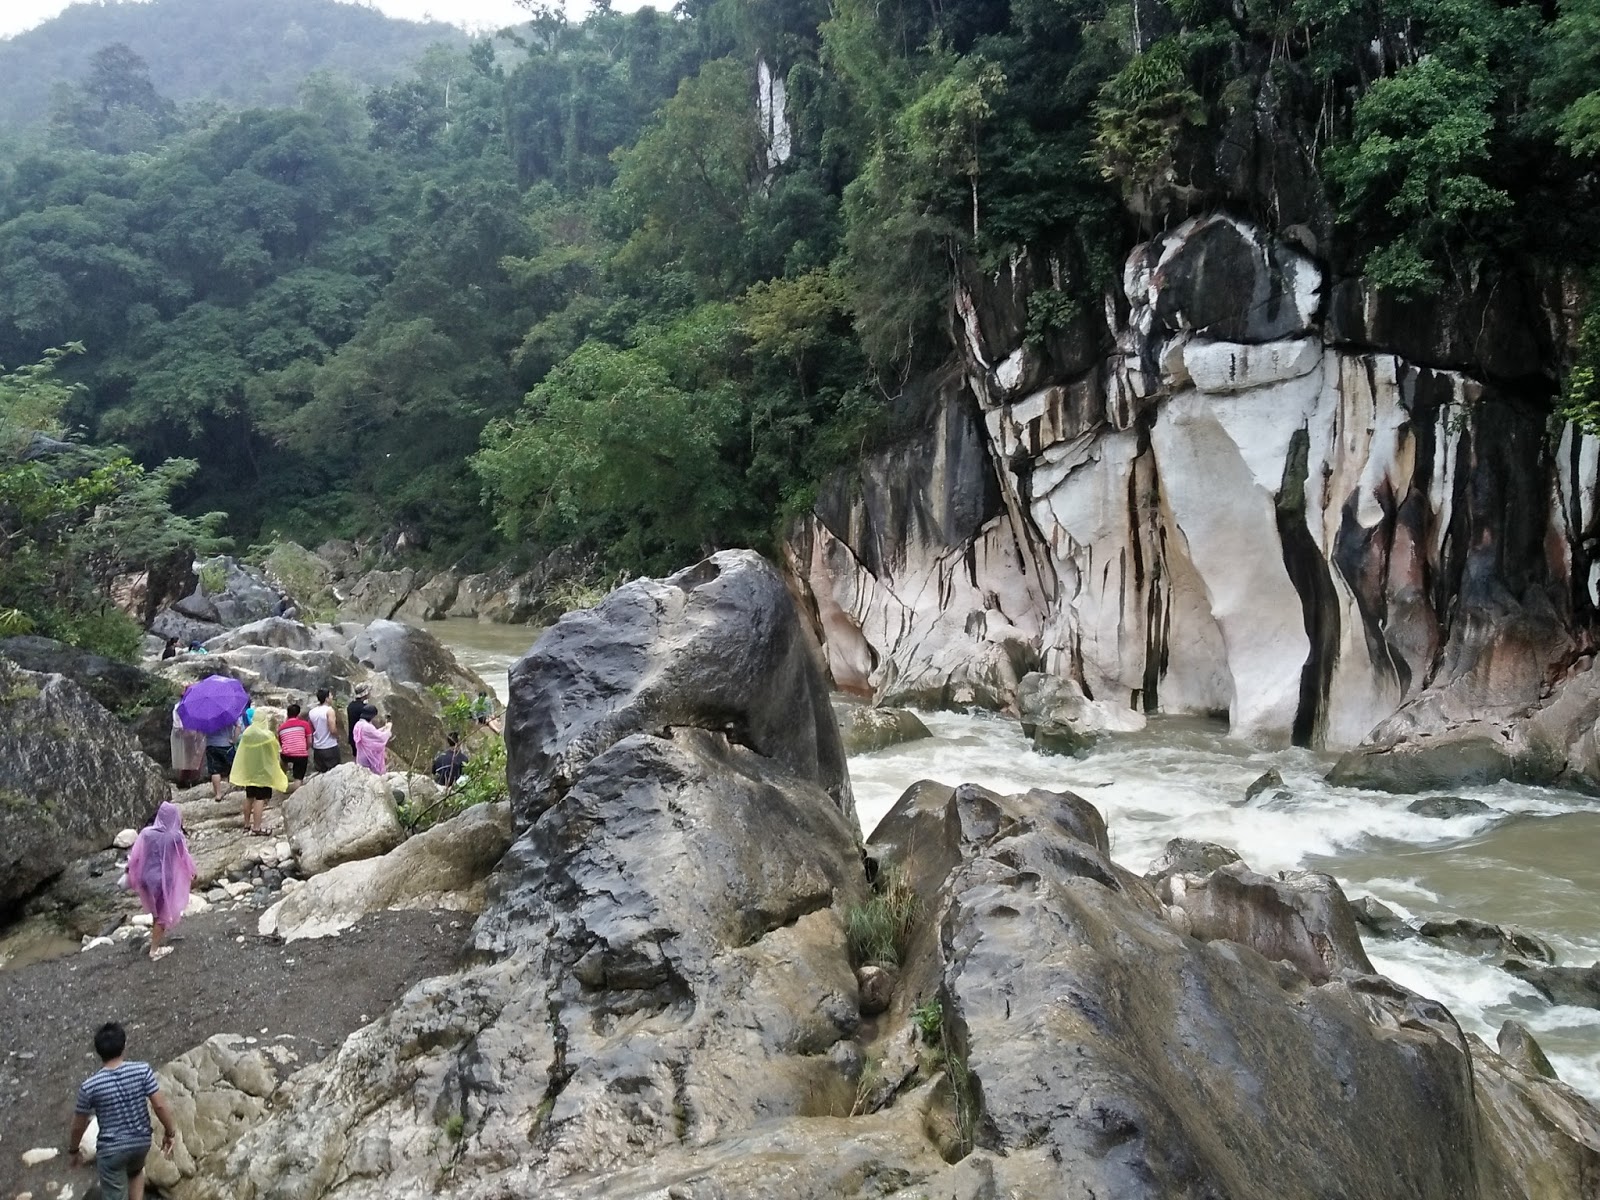
Though the water is not as calm, clear and green on a sunny day, it’s the limestone formation which had us fascinated more. Sadly, we could not bathe into the river due to the rapids. We were not also able to visit the cave because of the flash flood threats due to the weather.
HOW TO GET THERE:
1. From Starmall (Shaw Boulevard), ride a van to Tanay. Get off the Public Market.
2. From the Public Market, take a trycicle to Brgy. Daraitan
3. From the drop off point, take a balsa or cross the river.
4. Take another trycicle to the registration area
As for the trip back to Shaw, the same route and rides can be taken.
List of Expenses
Php 70.00 – one-way fare from Shaw to Tanay
Php 300.00/ride – tricycle from Tanay to Brgy. Daraitan
Php 5.00 – balsa/ bridge for river crossing
Php 10.00 / head – tricycle to registration area
Php 500.00 – tour guide fee (Php 500.00 for a group of five on a day tour and Php 1,200.00 for guides to spend overnight)
Php 100.00/ head (Mt. Daraitan registration fee)
Php 20.00 – Tinipak River and Cave fee
Php 5.00 – fee for river crossing through bridge
If you want your trip to be a less hassle, you may join organized tours which rate ranges from Php 700.00 – Php 800.00 (around Manila) depending on the point of departure..
If you are to go to Mt. Daraitan on a DIY tour, might as well contact a local for weather update and forecast. You may want to contact Kuya Biboy (0906 363 0870).
On a personal note, I’m hoping I could return to this mountain on a sunny day since the view from the summit is quite promising based on the photos I have seen.


3 Comments
Sirang Lente
Nice photos. Helpful tips
N
“If you are to bring your own ride/car, you need to park it on the other side right before you cross the river, by the way, like what we did.”
Hello. I got confused about the narrative. Did you bring your own car? Would you share how did get back to your parked car after your traverse? Thanks so much!
Anne Elizabeth Gumiran
Sorry about that, I was not able to include on the post that we had someone left at the car to drive it to the other side as we did a traverse. If you decide to bring your car and go on a traverse, you may just take a tricycle back to where you parked 🙂